Ah, the allure of vintage furniture! There’s something magical about the timeless beauty of aged wood and the charm of intricate details that modern furniture often lacks. If you’re the proud owner of vintage pieces or looking to embark on a journey of reviving old treasures, you’re in for a treat. In this comprehensive guide, we’ll delve into the art of furniture restoration, exploring techniques that will not only breathe new life into your cherished pieces but also infuse your home with that irresistible vintage charm.
Understanding the Preservation of Vintage Furniture
Embarking on the journey of vintage furniture restoration requires more than just sandpaper and varnish. It beckons us to peel back the layers of time, to unravel the essence and narrative woven into each piece. Imagine each nick, scratch, and patina as a page in a history book, chronicling the craftsmanship of eras long past.
In understanding the soul of vintage furniture, we transcend the mere physicality of a chair or a table. We embrace the whispers of yesteryears captured in the grain of the wood, the curve of the legs, and the intricate details that once demanded a skilled artisan’s touch. These pieces are more than functional items; they are artifacts, preserving the elegance of a bygone era.
Before diving into the meticulous work of restoration, taking a moment to connect with the soul of vintage furniture sets the stage for a journey that’s not just about refurbishing surfaces. It’s a tribute to the hands that shaped them, the homes they graced, and the stories they silently carry. Armed with this understanding, restoration becomes a dance with history, a way to honor the legacy of craftsmanship and bring these timeless pieces back into the spotlight.
Stripping Away the Years: Refinishing Techniques
Imagine your vintage furniture as a phoenix, ready to rise from the ashes of wear and tear. Refinishing is the awesome process that breathes new life into these timeless pieces. It’s not merely about removing varnish; it’s an artful journey to reveal the character etched into the wood by the passage of time. These antique furniture restoration techniques are vital for preserving your furniture.
1. Assessment: Decoding the Layers of Wear Embark on the refinishing journey by assessing the current state of your vintage furniture. Identify worn spots, scratches, or any layers of old finish that may have lost their luster. This initial examination sets the stage for a targeted refinishing approach.
2. Surface Preparation: Clearing the Canvas Begin the process by carefully stripping away the layers of old finish. This is akin to clearing a canvas, preparing it for a new masterpiece. Use appropriate stripping agents and tools to reveal the bare wood beneath, allowing the true character to emerge.
3. Sanding: Smoothing the Path to Revival Once the old finish is removed, sand the surface to perfection. Sanding not only smoothens the wood but also prepares it to absorb the new finish evenly. It’s a meticulous step that lays the groundwork for a flawless rejuvenation.
4. Stain Application: Infusing Life and Depth Choose a stain that resonates with your vision for the piece. The application of stain is a transformative act, infusing life and depth into the exposed wood. Picture it as an artist adding pigments to a canvas, enhancing the natural beauty that lies beneath.
5. Finish Coats: Sealing the Revived Beauty Apply multiple coats of finish to protect and enhance the refinished surface. This step is akin to giving your vintage furniture a protective shield, ensuring that the newfound beauty withstands the test of time. Whether opting for a glossy or matte finish, this decision adds the final touch of refinement.
The Art of Color Matching: Stains and Finishes
Selecting the ideal stain and finish for your vintage furniture is not merely a choice; it’s an artful endeavor comparable to choosing the perfect frame for a masterpiece. This step in the restoration process is pivotal, as it contributes to the overall aesthetic and authenticity of the piece.
1. Historical Exploration: Grasping the Era’s Palette Commence your color-matching journey by delving into the historical color palettes of the era your furniture originates from. Understand the prevalent tones and finishes, whether it’s the rich, dark hues of Victorian pieces or the lighter, natural shades reminiscent of mid-century modern.
2. Test Patches: Ensuring Seamless Integration Before committing to a full application, conduct test patches of various stains and finishes on inconspicuous areas. This trial-and-error process ensures that the chosen hues harmonize seamlessly with the existing wood and resonate authentically with the era’s design ethos.
3. Stain Application: Infusing Depth and Character Apply the chosen stain methodically, emphasizing the intricate details and natural grains of the wood. Staining is an art of layering, akin to an artist building depth in a painting. This step not only imparts color but also brings out the unique character that time has etched into the wood.
4. Finish Selection: Gloss, Satin, or Matte Elegance Choose the appropriate finish that aligns with the desired aesthetic. Whether it’s the lustrous shine of a gloss finish, the subtle sheen of satin, or the muted elegance of matte, this decision adds the final brushstroke, enhancing the overall appeal and protection of your vintage piece.
5. Sealing the Deal: Preserving Beauty for the Ages Seal the stained and finished surfaces with a protective coat. This step is analogous to preserving a masterpiece, ensuring that your vintage furniture not only looks captivating but is shielded from the wear and tear of daily life. It’s the ultimate act of securing the beauty you’ve unveiled.
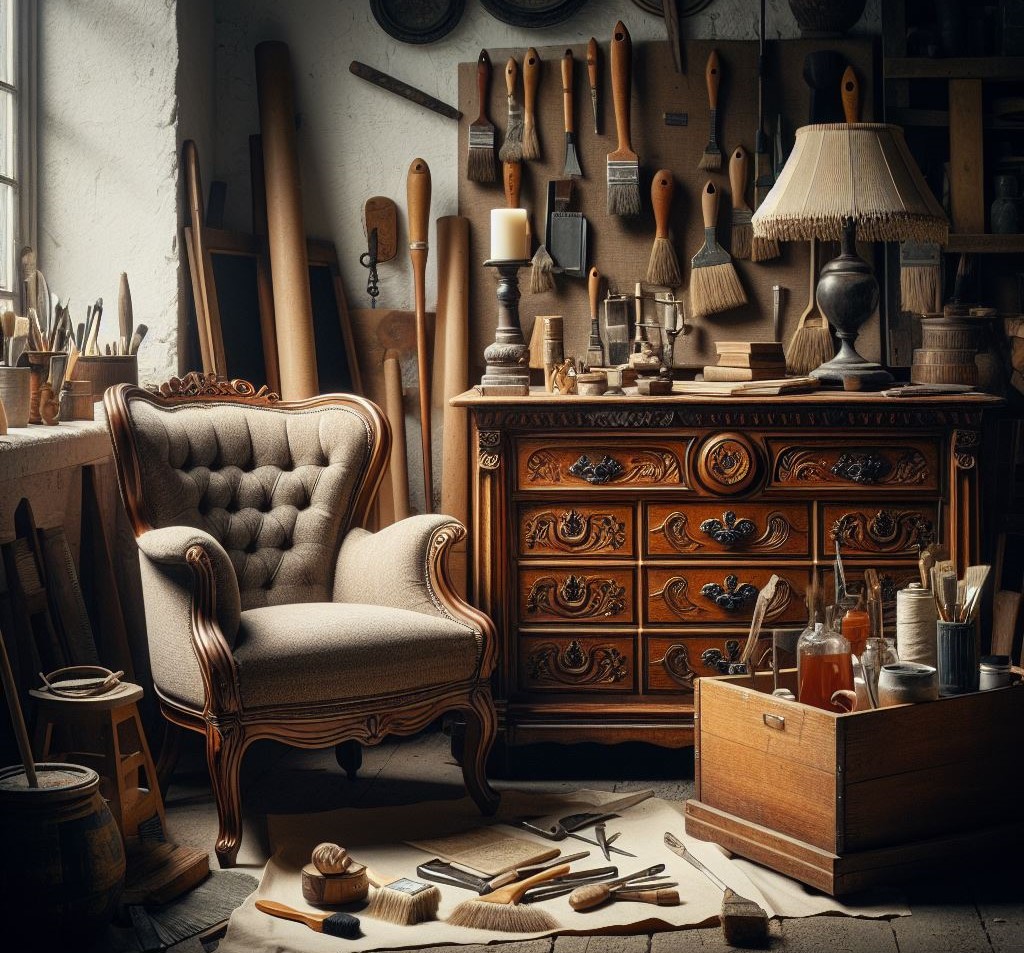
Reupholstering with Elegance
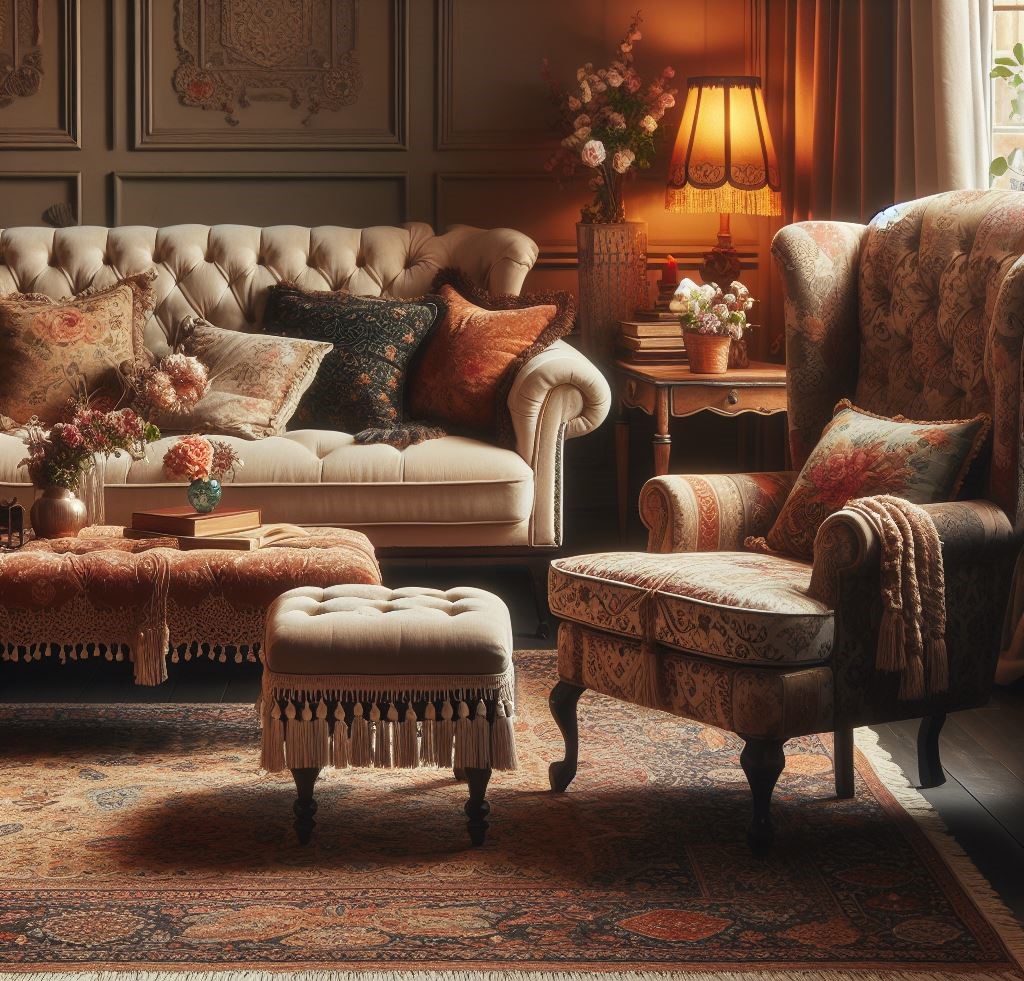
In the enchanting world of vintage furniture, where timeless designs reign supreme, worn-out upholstery can be a stumbling block. Fear not! Let’s embark on a journey into the art of reupholstering, a transformative process that not only breathes new life into your cherished pieces but elevates them to a realm of timeless elegance.
1. Assessment: Understanding the Fabric of Time Begin by carefully assessing the state of your furniture’s upholstery. Identify worn-out areas, tears, or faded fabrics. This initial assessment guides your fabric selection and sets the stage for a tailored reupholstering experience.
2. Fabric Selection: Weaving New Stories Choose fabrics that not only complement the era your furniture hails from but also introduce a touch of modern comfort. Consider patterns, textures, and colors that resonate with the overall aesthetic while enhancing the tactile allure of your vintage piece.
3. Stripping Away the Old: Unveiling the Beauty Within Gently remove the old upholstery, unveiling the bare bones of your furniture. This step is akin to peeling away layers to expose the essence of the piece, allowing for a fresh start in the reupholstering process.
4. Padding and Support: Ensuring Comfort and Resilience Assess the padding and support structure beneath the upholstery. Replace or reinforce padding as needed to ensure optimal comfort and resilience. Think of it as providing a plush foundation for the fabric to drape elegantly over.
5. Precision Upholstering: Artful Application Lay the chosen fabric over the furniture frame with precision, adhering to the contours and lines. Secure the fabric snugly, resembling the delicate process of dressing a vintage piece in a tailored garment. Ensure seams align seamlessly for a polished finish.
6. Final Flourish: Tying the Aesthetic Bow Trim any excess fabric, tucking and securing the edges with finesse. This final step is akin to adding the perfect accessory to complete a look, ensuring that your reupholstered vintage furniture not only feels luxurious but also looks resplendent in its newfound elegance.
Repairing Joints and Structural Issues
In the grand symphony of vintage furniture restoration, structural integrity plays the role of a virtuoso conductor, orchestrating the durability and longevity of your cherished pieces. Just as a well-built foundation is indispensable for a house, so is the solid framework of your vintage furniture.
Journey with us as we delve into the essential task of repairing joints, an art form akin to mending the bones of an antique structure.
1. Diagnosis: Examining the Ailments Begin by carefully examining your vintage furniture, identifying areas where joints may be compromised. Look for wobbly legs, loose connections, or signs of stress on load-bearing components. This diagnostic phase sets the stage for a targeted and effective repair process.
2. Disassembly: Unveiling the Inner Framework Gently disassemble the affected parts, revealing the hidden intricacies of your furniture’s inner framework. This step allows for a thorough inspection and access to the joints that require attention. It’s akin to peeling back layers to reveal the anatomy of your vintage treasure.
3. Cleansing and Preparation: Clearing the Path for Restoration Remove old adhesives, debris, and any remnants of past repairs. This cleansing process ensures a fresh start and prepares the surfaces for new adhesives and reinforcements. Think of it as providing a clean canvas for the restoration masterpiece.
4. Reinforcement: Strengthening the Weak Links Apply high-quality wood glue to mend the joints, ensuring a strong and resilient bond. For added reinforcement, consider using dowels or screws where appropriate. This step is analogous to setting a broken bone – providing support to ensure proper healing.
5. Finishing Touches: Seamless Integration Once the adhesive has set, reassemble the pieces with precision. Sand and polish the repaired joints to seamlessly integrate them with the surrounding wood. The goal is not only functional restoration but also aesthetic cohesion, ensuring that the repaired joints blend seamlessly into the overall design.
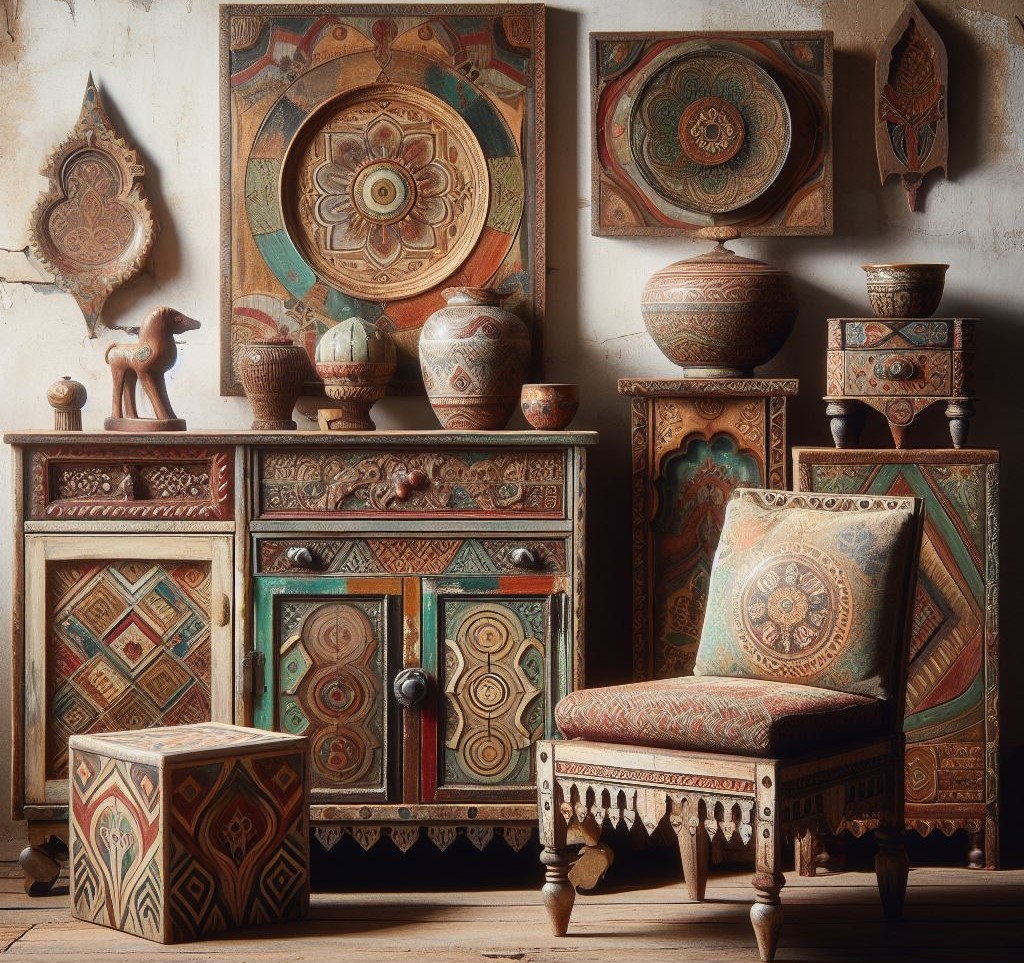
Embracing Imperfections: Distressing Techniques
In the symphony of vintage furniture restoration, embracing imperfections is an art form that adds character and charm to your cherished pieces. Distressing techniques not only celebrate the passage of time but also infuse a story-rich aesthetic into your furniture.
1. Understanding Distressing: The Art of Worn Elegance Embark on the distressing journey by understanding the art form itself. Distressing involves intentionally aging the furniture to create a worn, weathered appearance. It’s about replicating the natural wear that occurs over years of use, giving your piece a timeless elegance.
2. Selective Sanding: Creating Worn Edges Begin the process by selectively sanding edges and corners. Imagine the areas that would naturally wear down over time – the edges that see frequent use. This step is akin to highlighting the ‘high-traffic’ zones, adding authenticity to your vintage piece.
3. Hammering and Denting: Mimicking Natural Wear Introduce controlled imperfections by gently hammering and denting certain areas. Think of it as recreating the dings and dents acquired through years of daily life. This method adds a touch of history, telling a tale of a well-loved and well-lived piece.
4. Adding Wormholes: Vintage Aesthetics For a touch of vintage charm, consider creating wormholes. This involves strategically creating small holes resembling those left by woodworms over time. It’s a subtle yet effective technique that transports your furniture to an era where craftsmanship and imperfections coexisted.
5. Staining and Painting: Aging Gracefully Apply stains or paint strategically to further enhance the distressed look. These additions seep into the distressed areas, emphasizing the worn and weathered appearance. It’s like adding layers to a story, enriching the narrative your vintage furniture tells.
6. Protective Finish: Preserving the Distressed Beauty Seal the distressed surfaces with a protective finish. This step ensures that the intentional imperfections remain intact, preserving the distressed beauty for years to come. It’s a crucial act of safeguarding the carefully crafted vintage aesthetics.
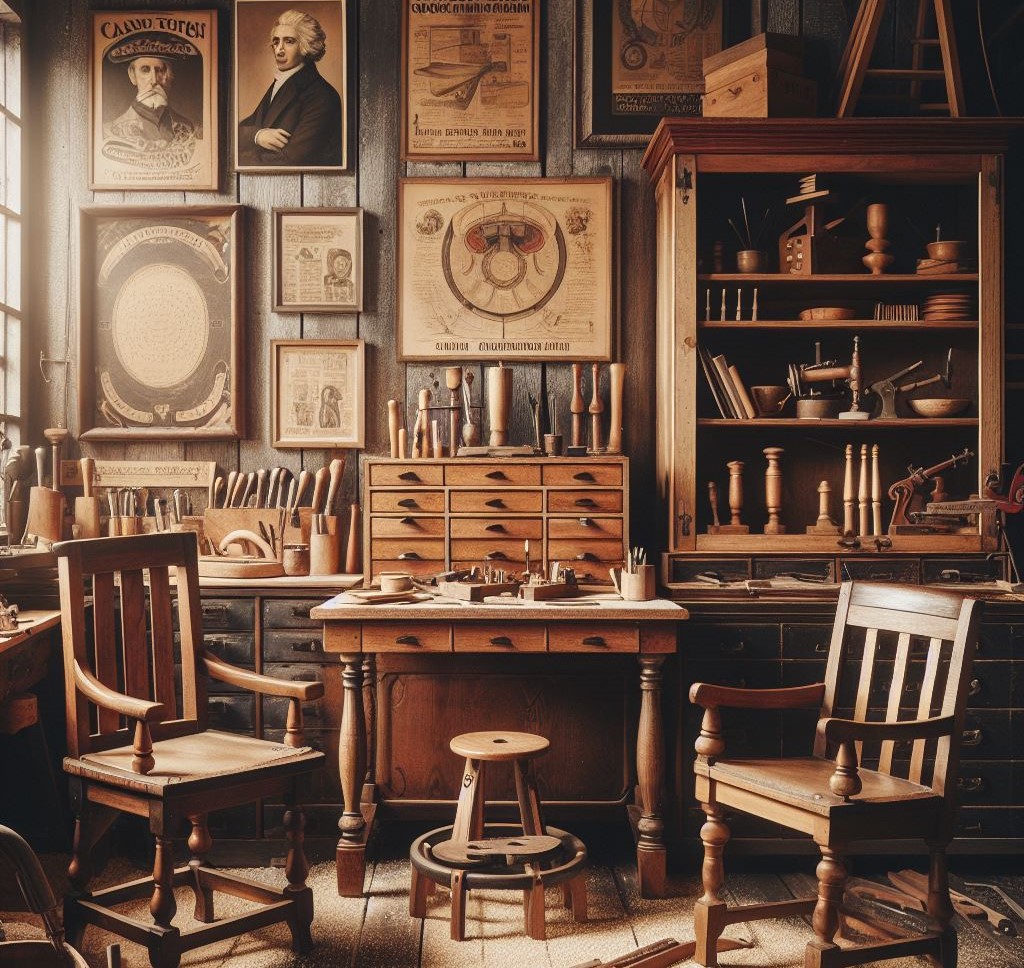
Hardware Rejuvenation
In the intricate tapestry of vintage furniture restoration, the rejuvenation of hardware is a nuanced art form that brings the essence of authenticity to your cherished pieces. This process isn’t just about fixing knobs, handles, and hinges; it’s about revitalizing the very life of your furniture’s details as you learn how to clean and restore wood furniture.
1. Assessment: Unveiling the Forgotten Details Commence the rejuvenation journey by assessing the current state of your furniture’s hardware. Identify worn-out finishes, tarnished surfaces, or loose components. This initial examination serves as the key to unlocking the potential of your vintage hardware.
2. Cleaning: Clearing the Patina’s Veil Gently clean the hardware to remove accumulated dirt, grime, and tarnish. Picture this step as unveiling the hidden beauty beneath the patina’s veil. Use appropriate cleaning solutions and tools to ensure a meticulous restoration without compromising the integrity of the original design.
3. Polishing: Restoring Luster and Shine Once cleaned, polish the hardware to restore its luster and shine. This process is akin to buffing away the years, revealing the intricate details that may have been dulled by time. Whether it’s brass, chrome, or intricate metalwork, polishing rejuvenates the hardware’s visual appeal.
4. Repairing: Mending the Details Identify any loose components, missing screws, or damaged parts. Repairing hardware is a meticulous task, akin to healing wounds on a treasured artifact. Ensure that each piece is secure, functional, and true to its original design, preserving the authenticity of your vintage furniture.
5. Refinishing: Adding a Touch of Elegance Consider refinishing the hardware to match the overall aesthetic of your vintage piece. This could involve applying a protective coating, choosing a complementary finish, or even experimenting with antiquing techniques. The refinishing step ensures a cohesive and elegant appearance.
6. Reassembly: Integration with Grace Carefully reassemble the hardware onto your restored piece. This final step is like putting the finishing touches on a work of art. Ensure that each knob and hinge is affixed with precision, integrating the rejuvenated hardware seamlessly into the overall design.
Preserving the Patina: The Importance of Maintenance
In the narrative of vintage furniture, preserving the patina is an essential chapter, a testament to the journey your cherished pieces have undertaken. Maintenance isn’t just about preventing wear; it’s a commitment to safeguarding the authentic character etched into the very fabric of your furniture.
1. Regular Inspection: Eyes on the Details Initiate the maintenance ritual by regularly inspecting your vintage furniture. Look for signs of wear, areas of high use, or any potential issues that might compromise the patina. This meticulous inspection is akin to a caretaker’s watchful eye, ensuring the well-being of your timeless treasures.
2. Gentle Cleaning: Nurturing with Care Gently clean the surfaces using mild solutions and soft cloths. This isn’t a vigorous scrubbing but a tender caress to remove dust and debris that might settle on the patina. The goal is to nurture, not to erase the unique story told by the delicate layers of time.
3. Waxing: Anointing with Protection Apply a thin layer of wax to the surfaces to add a protective shield. This process is akin to anointing your vintage furniture with a coat of preservation. The wax not only guards against minor scratches but also enhances the richness of the patina, deepening the hues that narrate the piece’s history.
4. Humidity Control: Balancing the Atmosphere Maintain a controlled humidity level in the environment where your vintage furniture resides. Fluctuations in humidity can affect the wood, potentially altering the patina. Think of this step as creating a stable atmosphere, allowing your furniture to age gracefully without succumbing to drastic environmental changes.
5. Avoiding Harsh Chemicals: Gentle Guardianship Steer clear of harsh cleaning chemicals that might strip away the patina. Opt for gentle, non-abrasive cleaners that respect the delicate layers of your vintage furniture. This guardianship ensures that each mark and nuance of the patina remains intact.
6. Protective Coverings: Shielding from Harm Consider using protective coverings, such as coasters for beverages or tablecloths for surfaces. These simple shields act as guardians, preventing unnecessary wear and tear while allowing the patina to shine through. It’s a subtle yet effective way to maintain the authenticity of your vintage pieces.
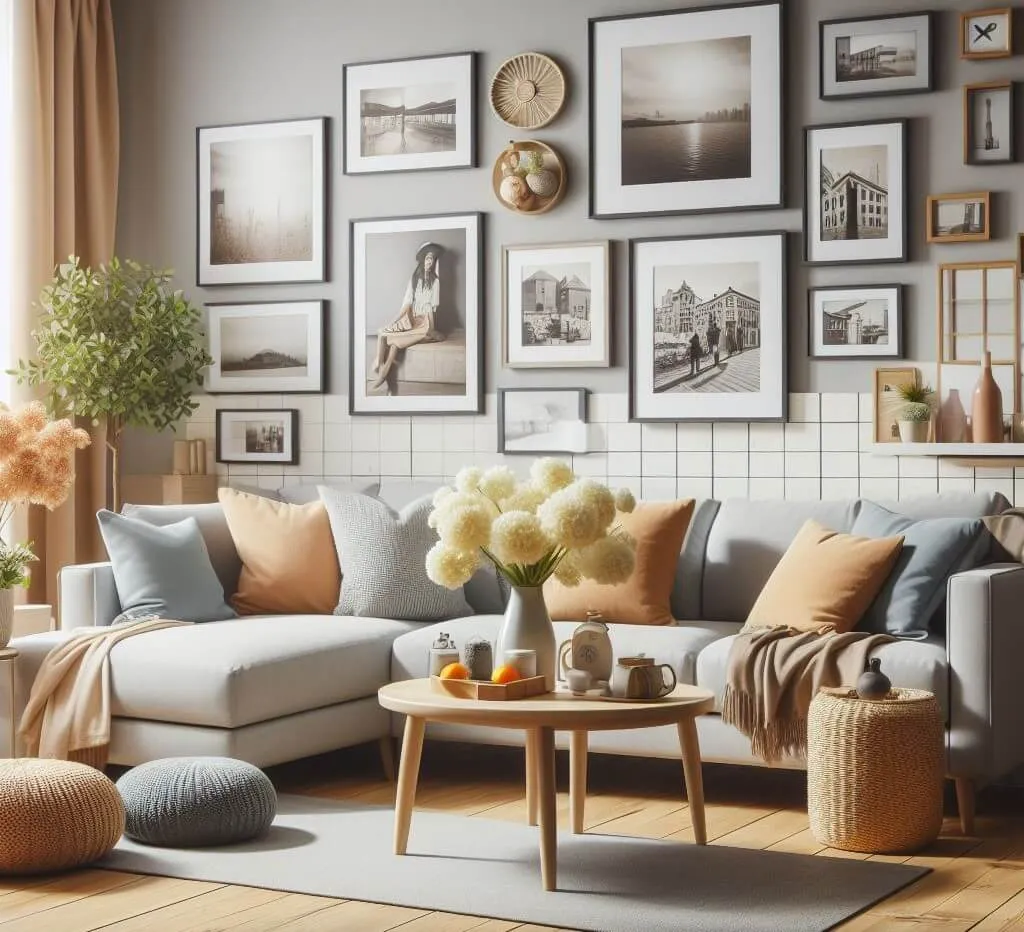
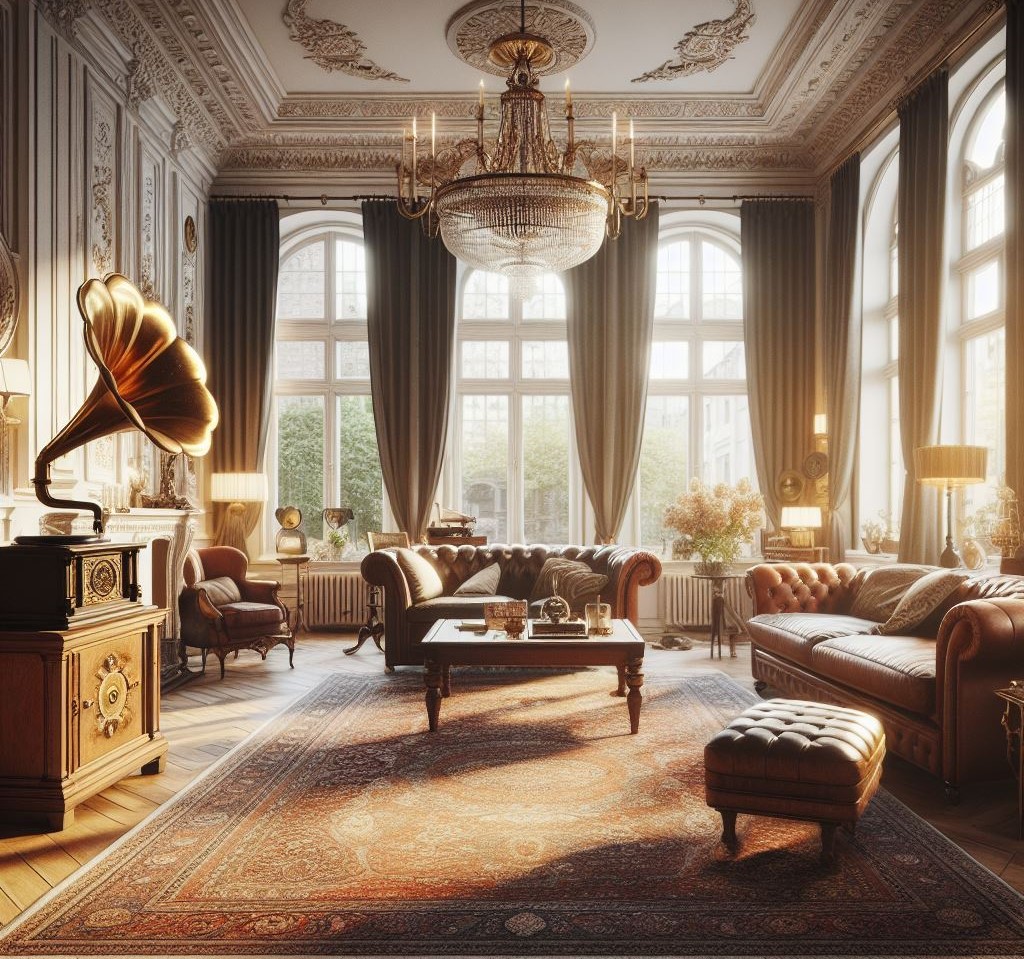
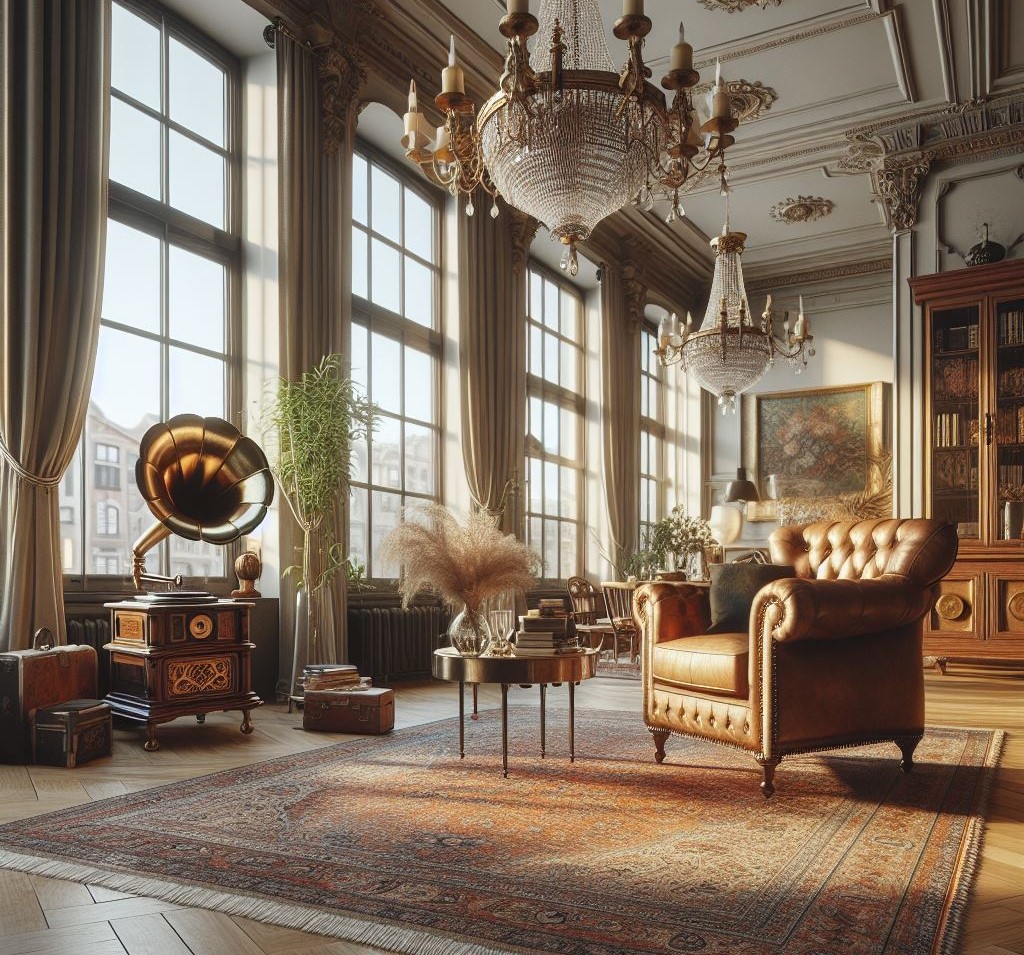
Showcasing Your Vintage Gems: Styling Tips
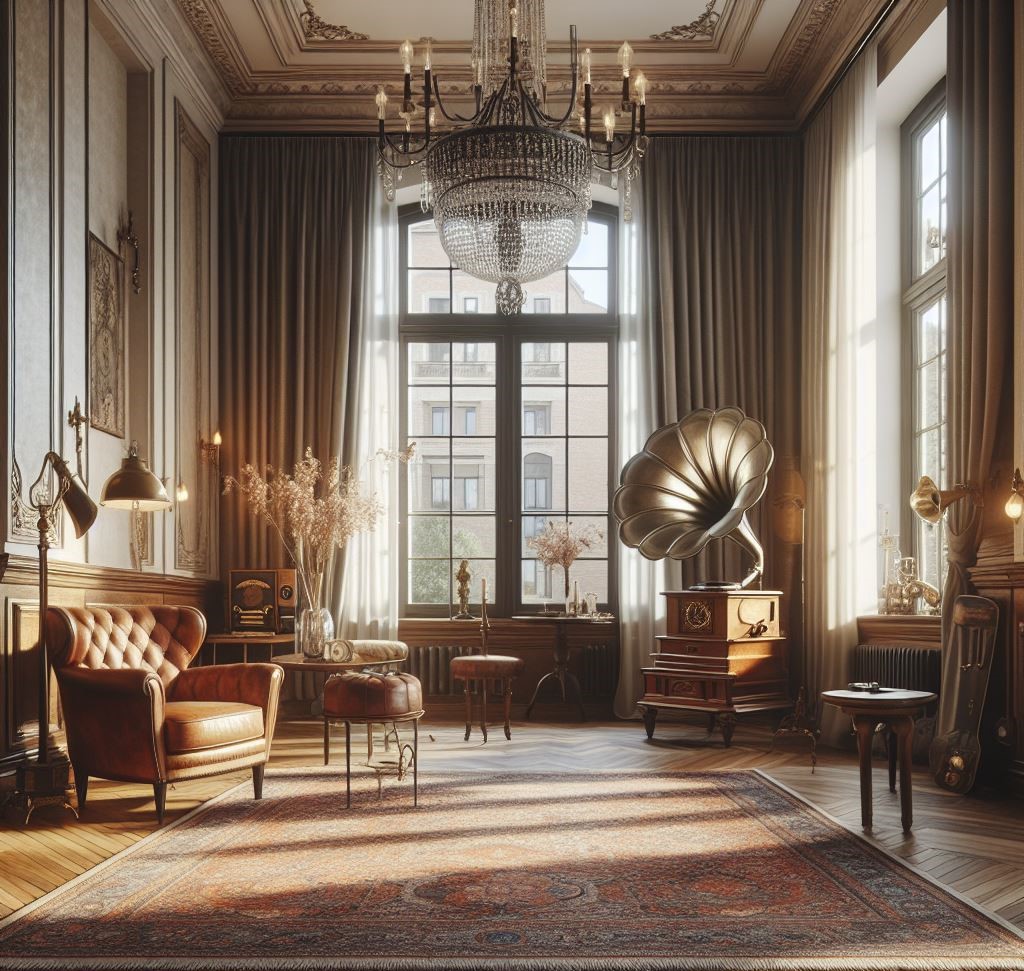
As you unveil your meticulously restored treasures, consider these insightful styling tips that seamlessly blend the allure of the past with contemporary elegance. Let’s craft a living space that not only captivates the eye but also resonates with timeless charm.
1. Purposeful Placement: Anchoring History in Every Corner Strategically place each restored gem to anchor the room with a touch of history. Imagine a rejuvenated antique dresser becoming a focal point or a mid-century coffee table stealing the show. Purposeful placement ensures that each piece tells a story while captivating attention.
2. Blending Eras: A Synchronized Dance of Old and New Artfully blend vintage charm with modern elements. Visualize a vintage armchair harmonizing with a contemporary accent table, creating a dynamic visual symphony. This fusion not only showcases your restored treasures but also adds layers of dynamism to your living space.
3. Illuminating Elegance: Lighting as a Subtle Sonata Choose lighting that gracefully highlights the intricate details of your vintage furniture. Picture a contemporary lamp casting a warm glow on an artfully distressed side table. The play of light not only accentuates the beauty but also adds a touch of timeless elegance.
4. Curated Decor: Crafting an Artful Narrative Curate decor items that seamlessly align with the essence of your restored pieces. Think antique vases, classic artwork, or vintage-inspired textiles. This curated approach weaves an artful narrative, ensuring your living space becomes a captivating visual tapestry.
5. Artful Symmetry: A Pleasing Aesthetic Rhythm Maintain balance through artful symmetry. Envision a pair of vintage nightstands flanking your bed or identical mid-century chairs framing the fireplace. Symmetry adds a pleasing rhythm, allowing your restored treasures to shine collectively in the canvas of your home.
Incorporate these insightful styling tips, transforming your living space into a gallery where each restored gem plays a vital role in a larger aesthetic narrative. It’s more than just furniture; it’s about crafting an immersive experience where the beauty of the past and the allure of the present converge into a living masterpiece within the canvas of your home.
Final Remarks: Furniture Restoration Techniques
As we conclude our journey into the world of furniture restoration, remember that every restored piece tells a timeless tale retold. Your efforts in reviving vintage furniture not only breathe life into forgotten treasures but also contribute to the sustainable and eco-friendly ethos of repurposing. So, roll up your sleeves, dive into the world of restoration, and let your home be a testament to the enduring beauty of the past.
Share the Love: If you’ve found these furniture restoration techniques enlightening, why not share the love? Encourage your friends and fellow vintage enthusiasts to embark on their own restoration adventures. After all, the beauty of vintage furniture is meant to be celebrated and shared!